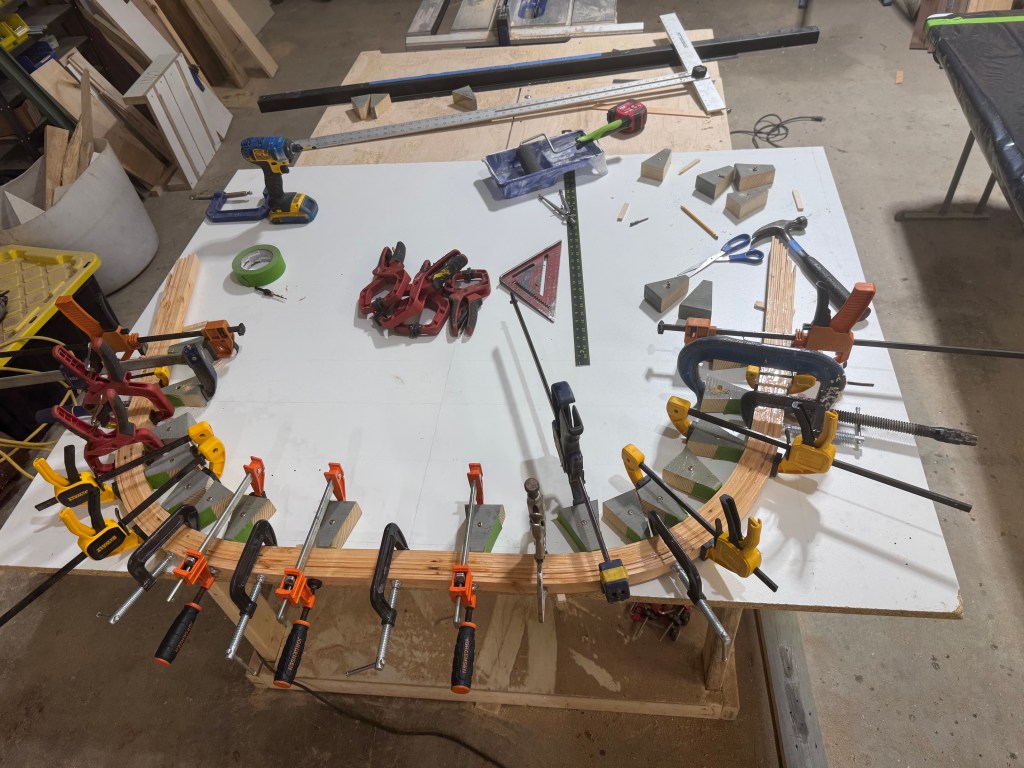
Whence we left off on our journey of turning a small pile of lumber into a boat and sawdust, in equal measure, we had been preparing lumber and jigs for the laminated frame members. I test fit my laminating stock, and it took the shape acceptably, so I laid all the strips out on some plastic sheeting and liberally applied MAS epoxy onto the bonding surfaces. Once the wood and my hands, arms, and shirt were well coated in epoxy, I stacked them up and laid them out on the jig to bend them into shape with every last one of my clamps. This process can be a little tricky, as the now lubricated wood strips will try to escape their bonds. I think doing this again, I’d make a way to clamp down on the strips to restrain them from popping up. Another tip – as is seen in the photos, I used melamine board as my jig surface. Epoxy, as well as most other resins, don’t adhere to melamine, making it a useful mold material.
After the epoxy cured, I released the frames and began shaping them. First, I planed them to the correct width, then I laid out the cut lines and used the bandsaw to cut the flat edges needed to accept the strakes. Once the laminations were made up, I mounted them to the strongback, following the designer’s instructions closely for placement.
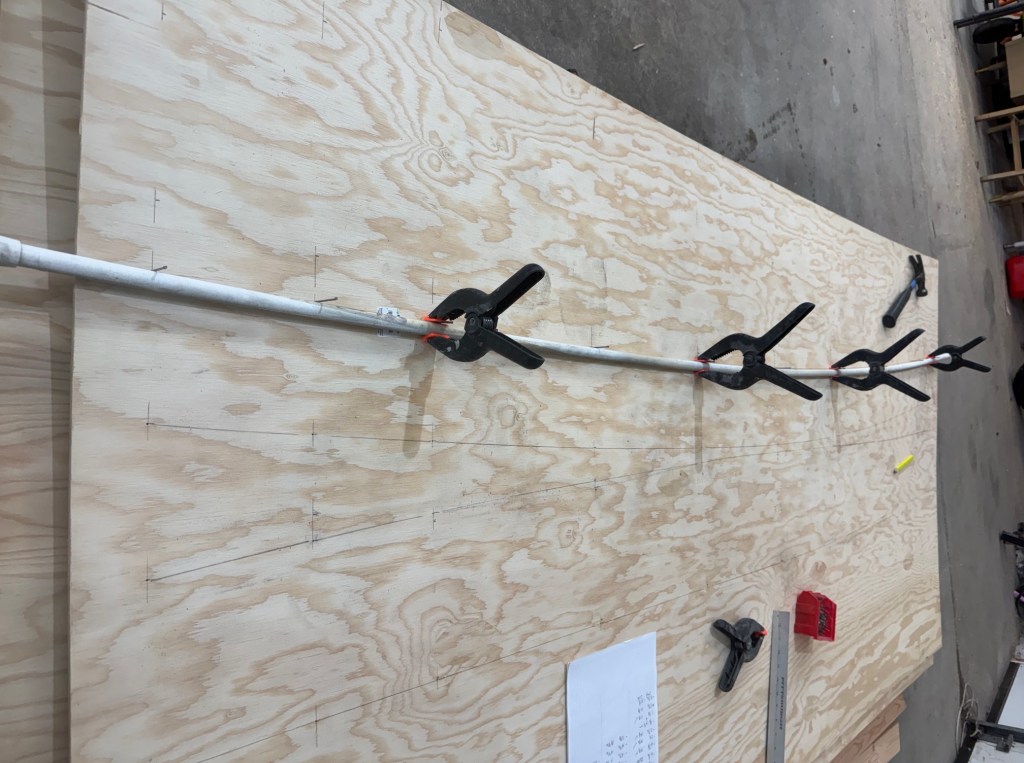
It was then time to lay out the strakes & transoms. I had not opted for full-size patterns, so I had the opportunity to lay out the planking dimensionally. There is something cathartic about turning a grid of numbers on a sheet of paper into lines and shapes on a raw material. After marking out the station points, I used a flexible PVC pipe to scribe the arcs. Cuts were made with a circular saw, and I now had more parts to stick on the frame!
After fitting the transoms, I dry fit the floor and all the planking with drywall screws. This process also featured my power plane & hand plane, as I needed to feather down the lap edges of the strakes. Once I was satisfied with the shape of the thing, I penciled alignment marks all over the place to ensure the final epoxied version looked like the dry-fit. I started mixing thickened epoxy in small batches so I could move one plank at a time, getting the fit-up right and not being rushed with filleting and touch-ups. In not too much time at all, this started to look like it might float! Once the epoxy was cured, I removed the drywall screws and replaced them with the permanent silicone bronze fasteners.
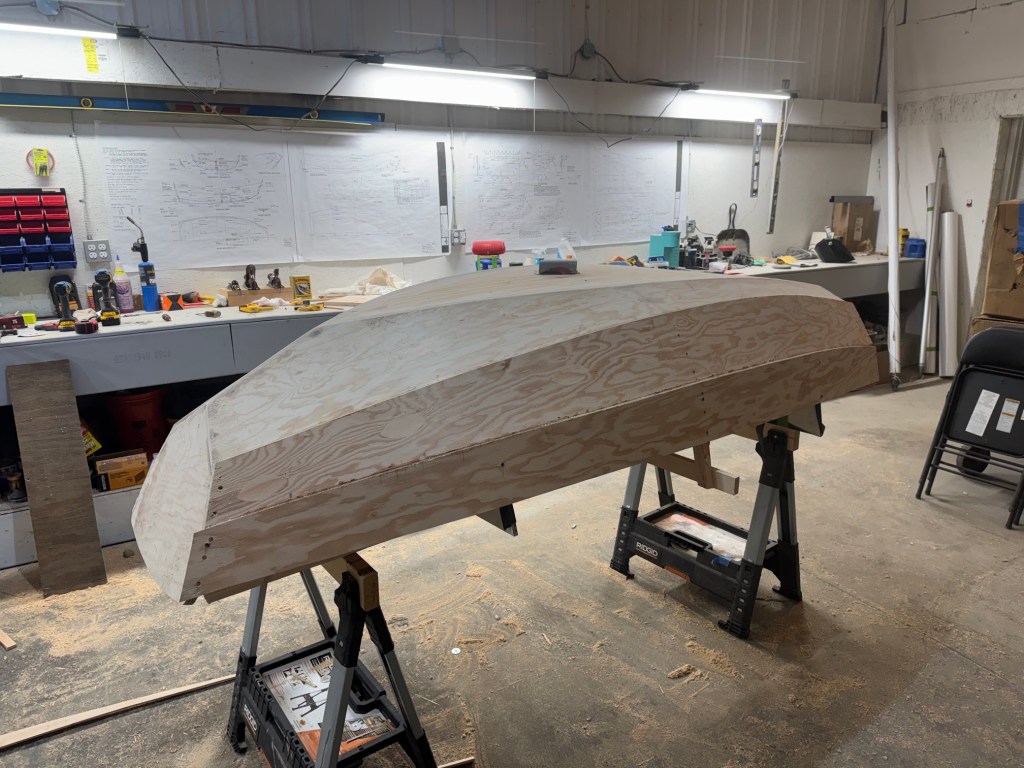
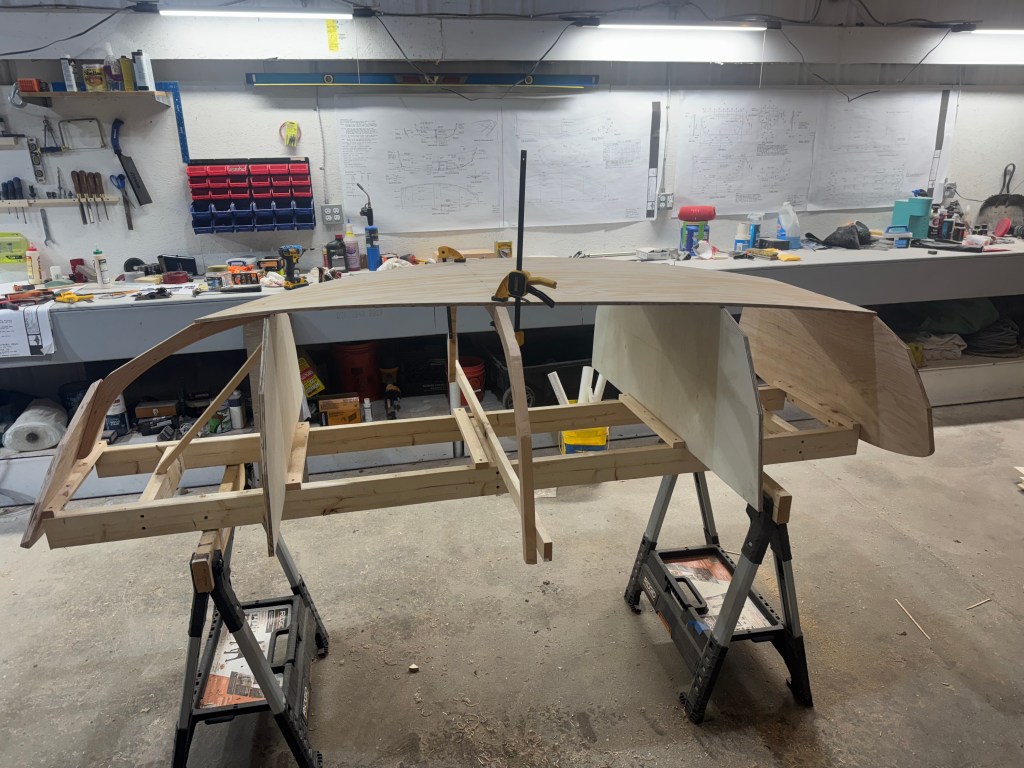
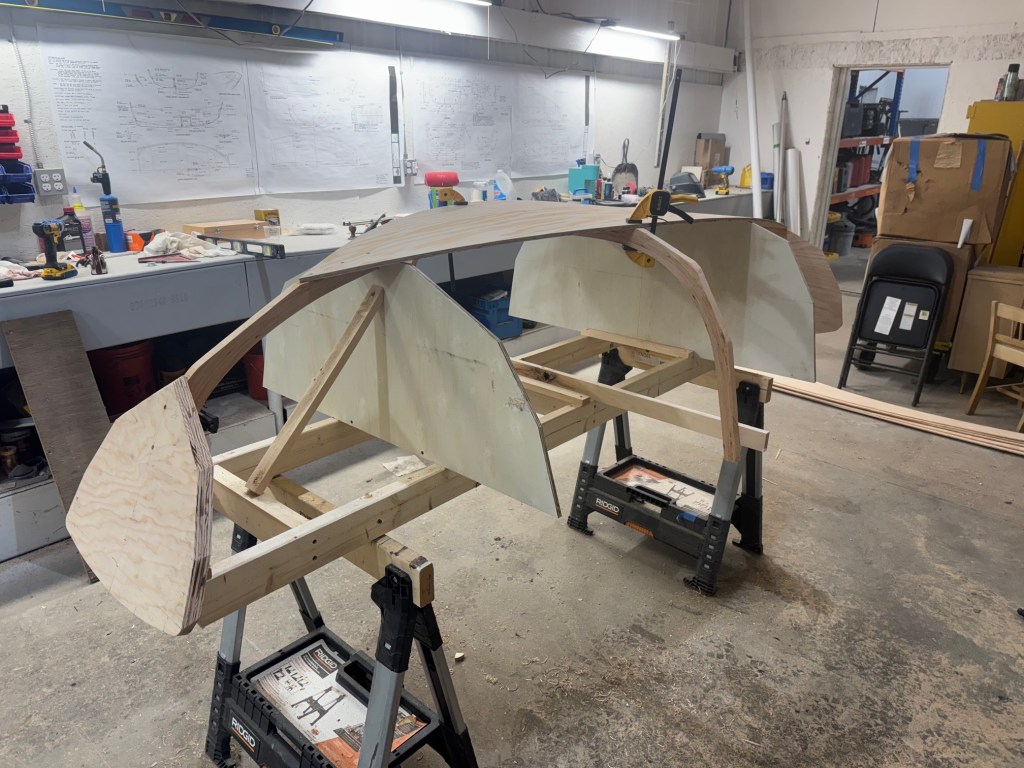
The basic hull shape now complete, I removed the hull from the ladderback frame and station molds and flipped it right-side up. I began to work on bracing fixtures such as the corner braces and the rub rails. I had a piece of good clear white oak I had sourced for the bracing and keel, and a nice mahogany board to mill down for rub-rails. I attached the rub rails first, and then used ratchet straps to square the hull before affixing the knee braces. Again, everything is epoxied as well as screwed. I then moved on to laying out for the thwarts(seats) and their braces. I used carefully selected big-box 2×10’s for these and just trimmed and planed them to the final size. In anticipation of one day making a sailing rig for this, I did make and install a daggerboard box, daggerboard, and blanking board. I had some leftover purpleheart laying around the shop, so I used that for the caps to add a little color.
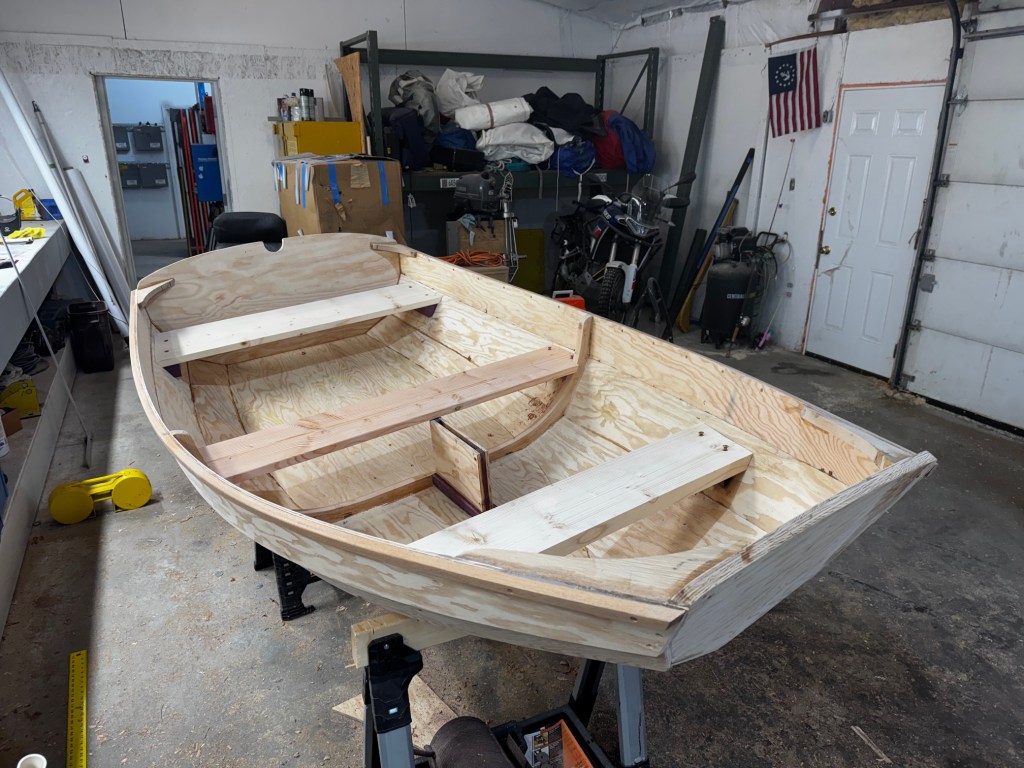
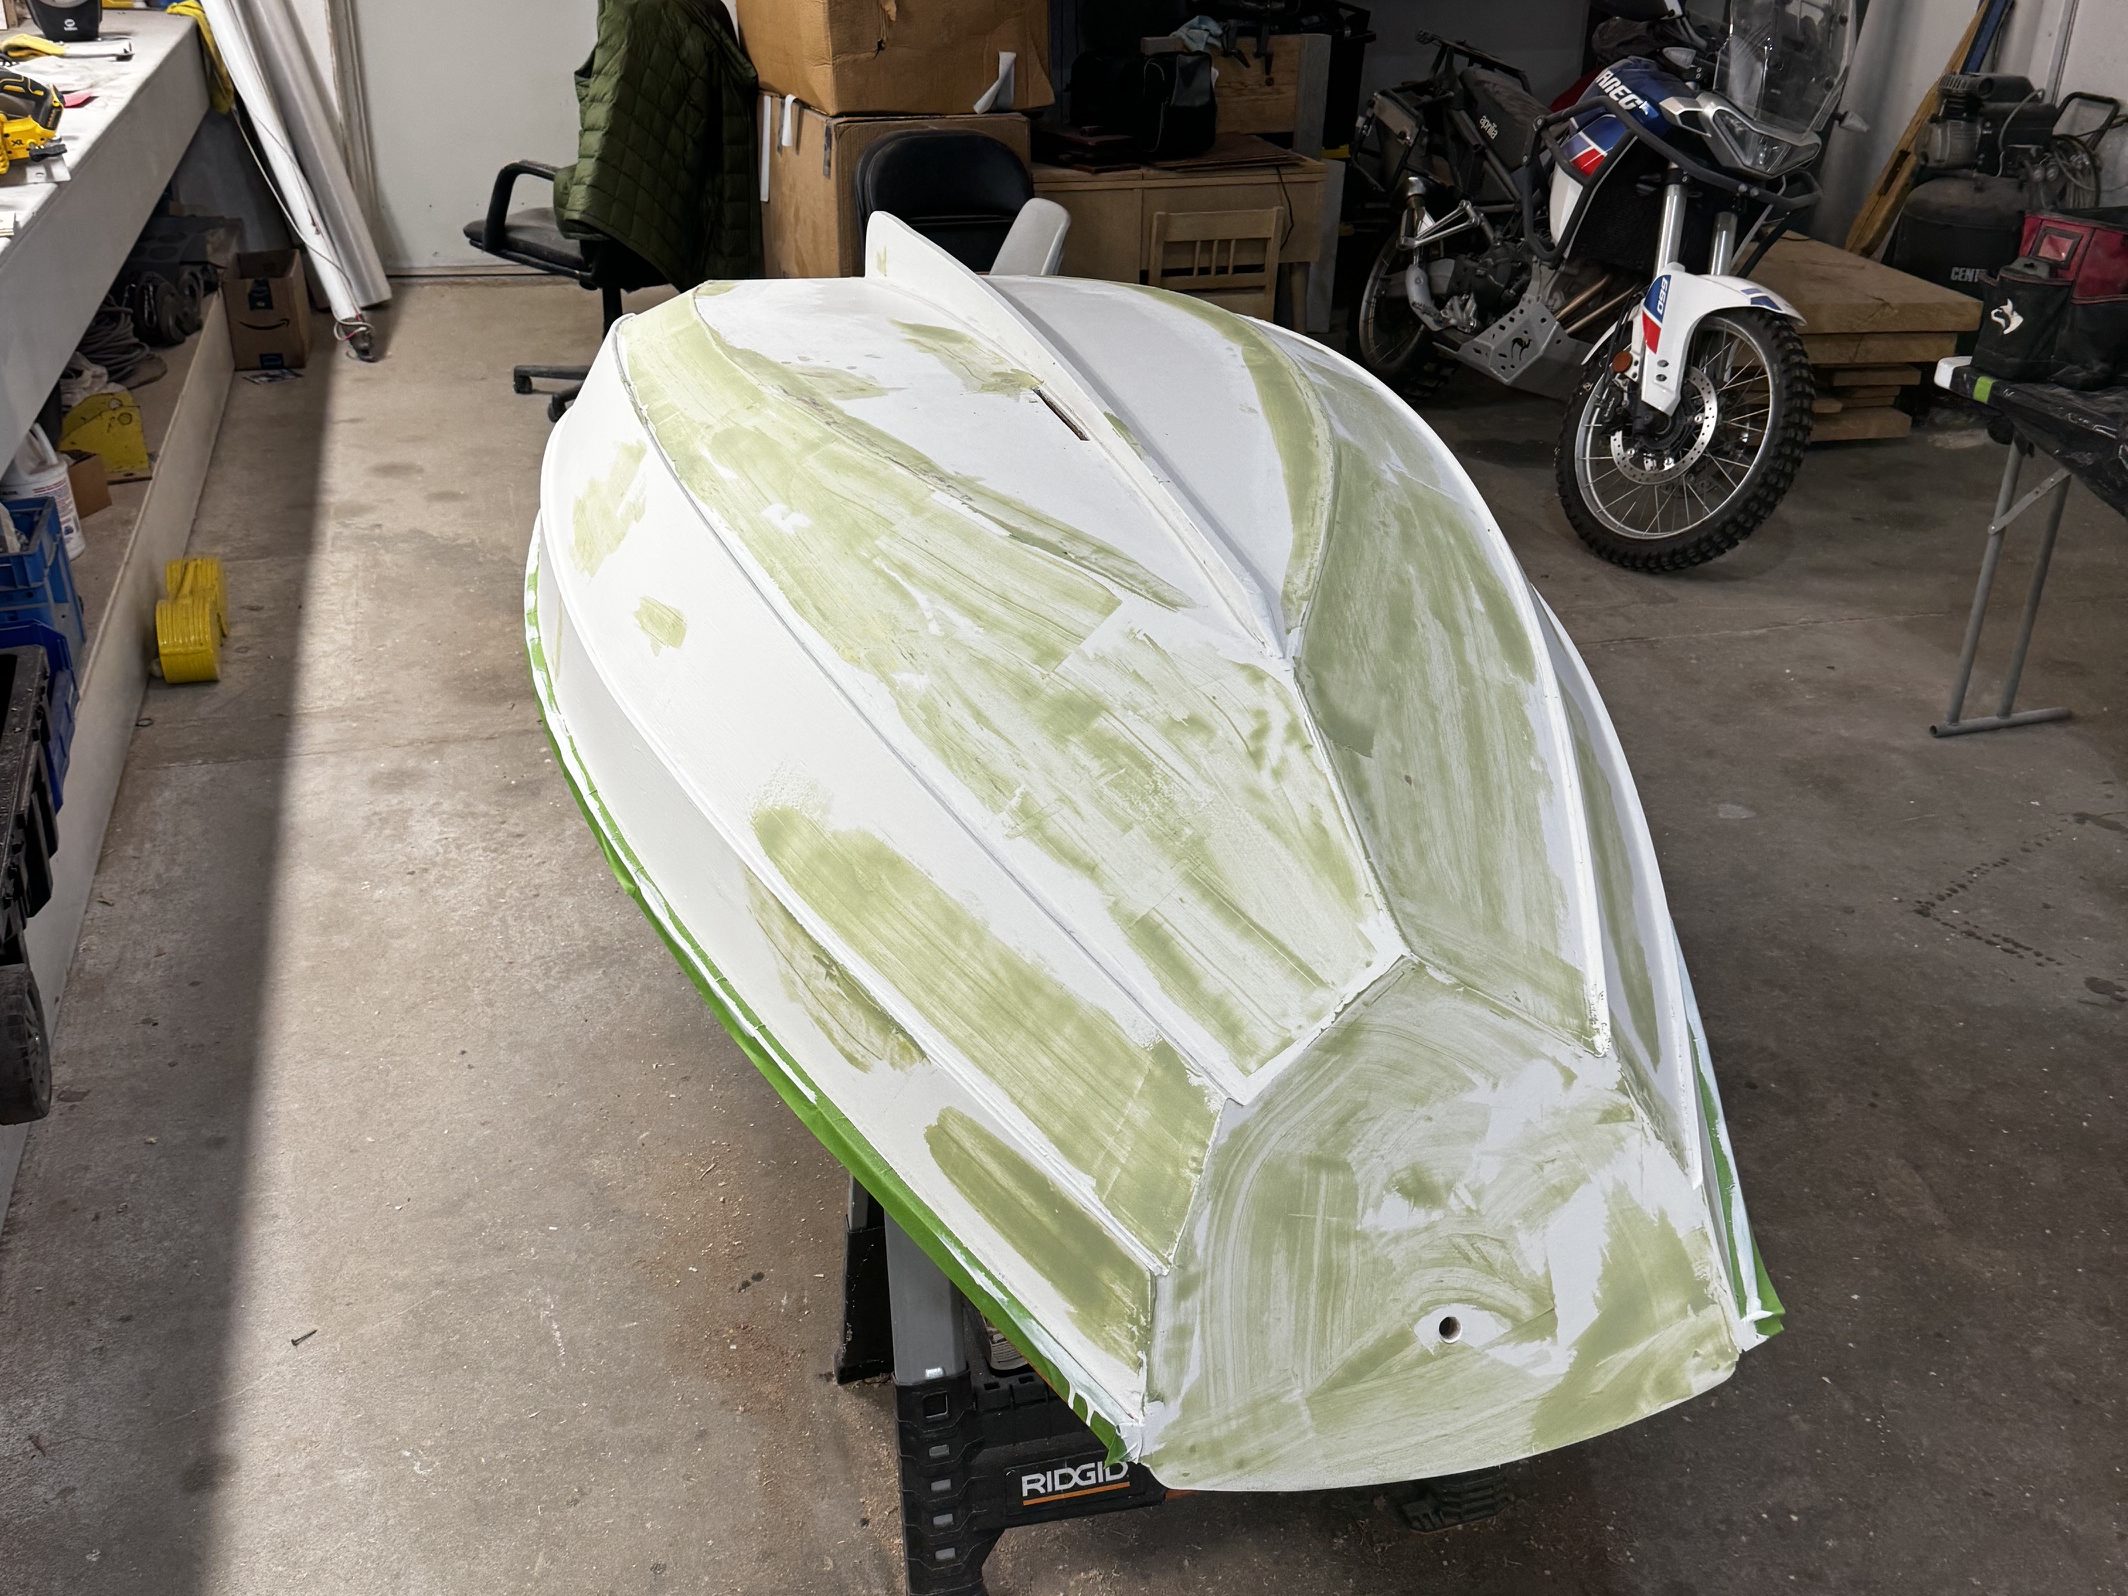
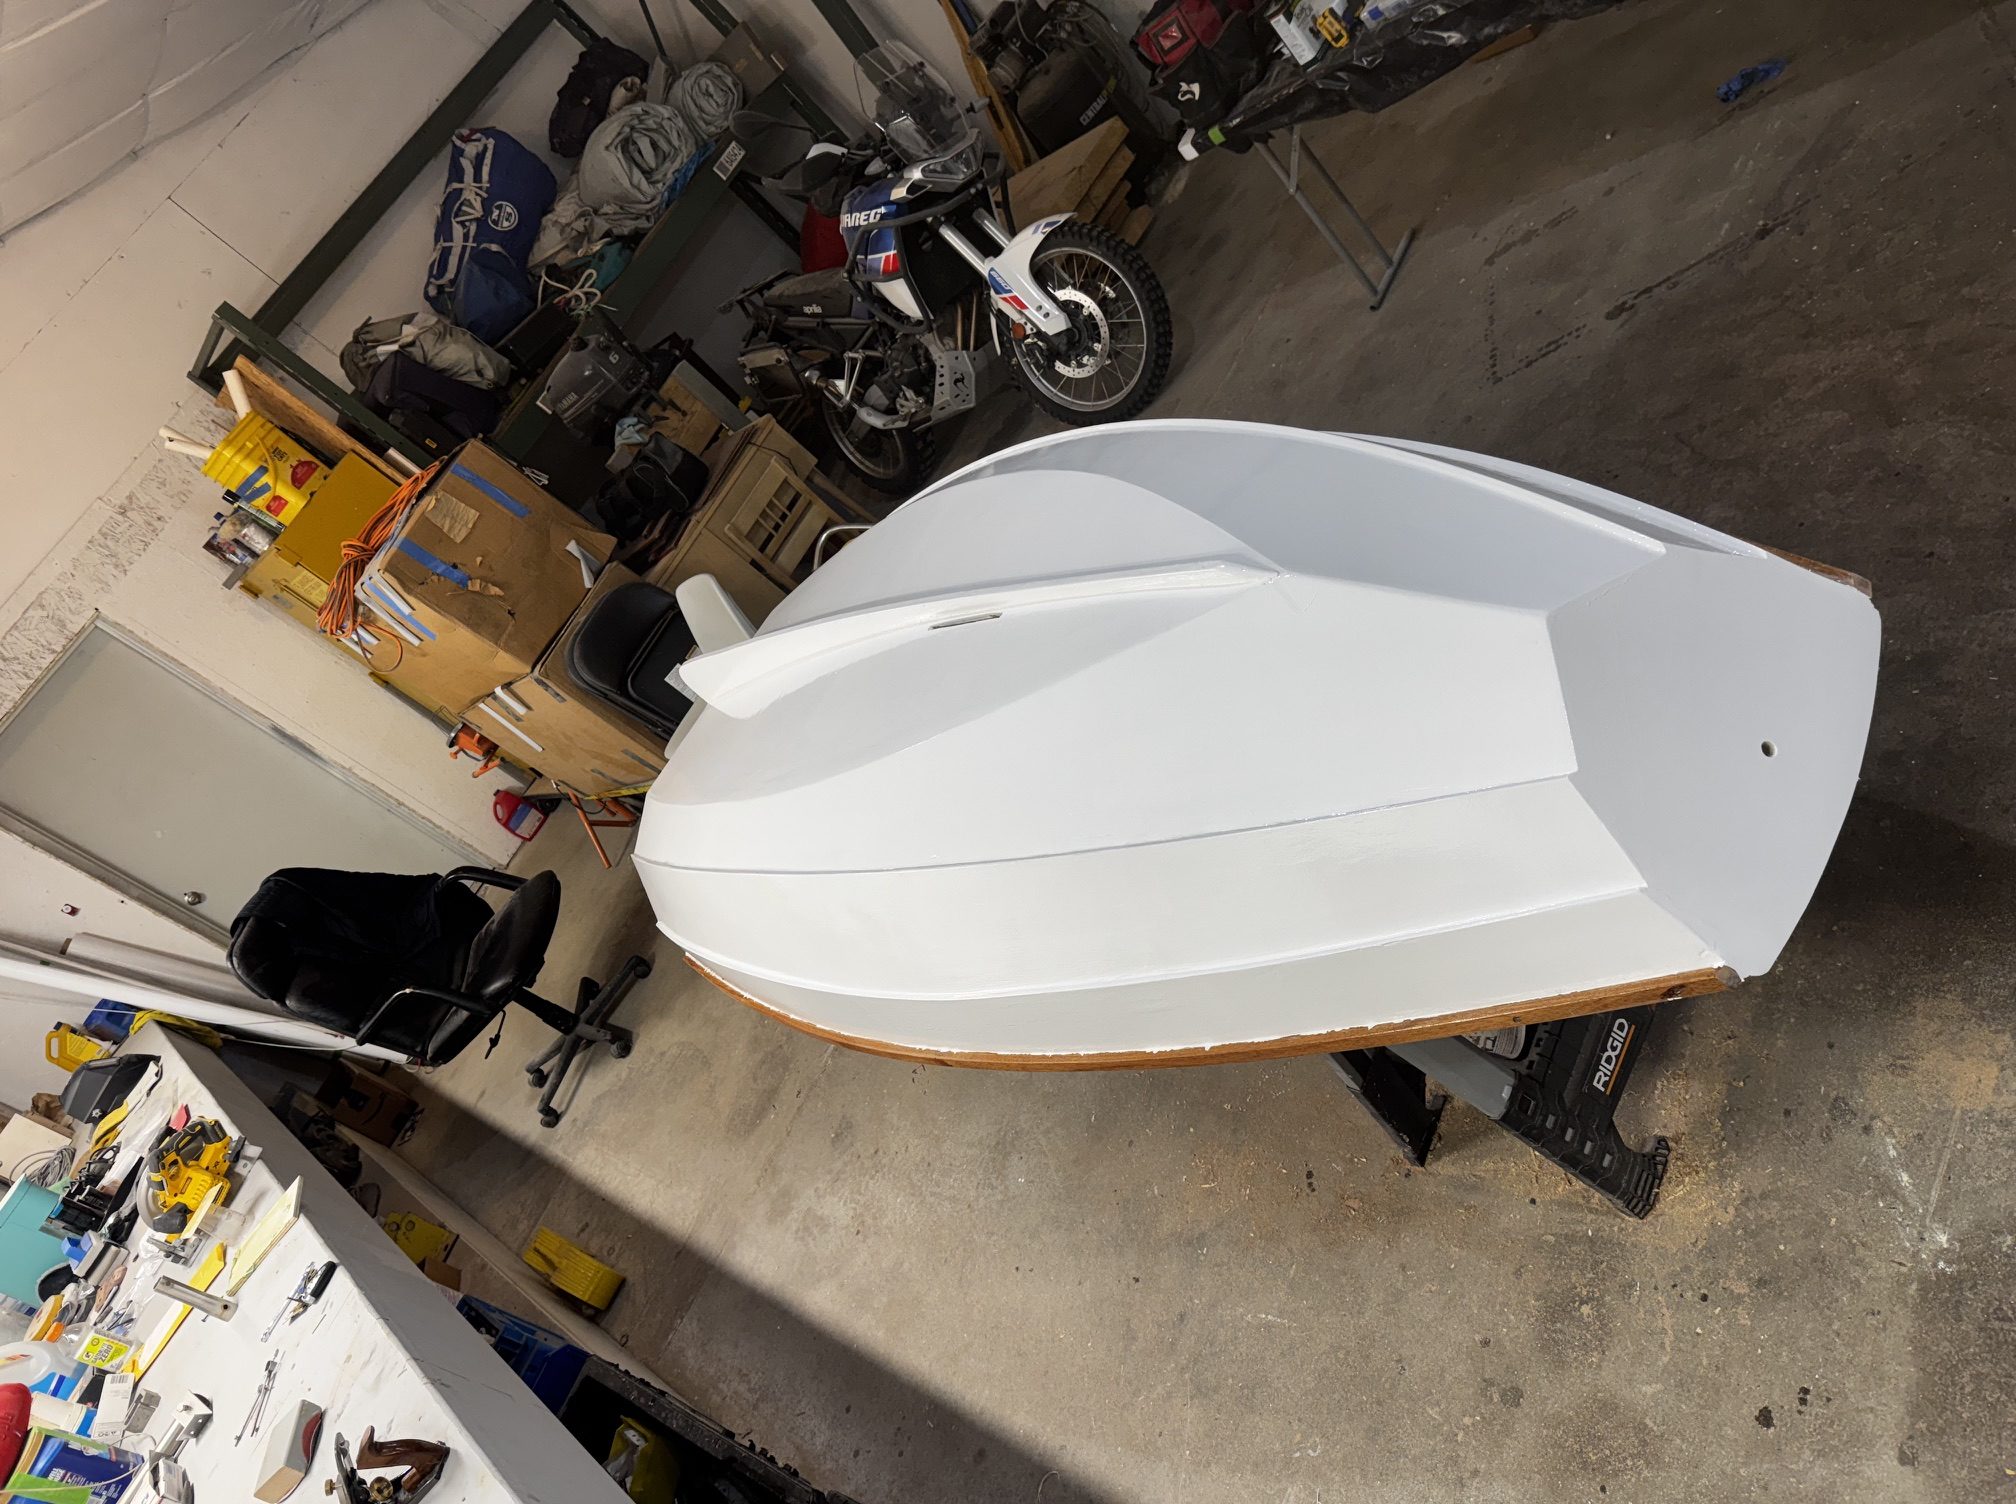
Once all the major parts were installed, I sealed the entire boat inside & out with a coat of epoxy, laying it on heavy to allow it to soak into the grain a bit. Once that was done, I began fairing the hull & prepping for primer and paint. I kept it pretty simple, Totalboat Gleam varnish on the details and Totalboat Topside paint in white for the hull.
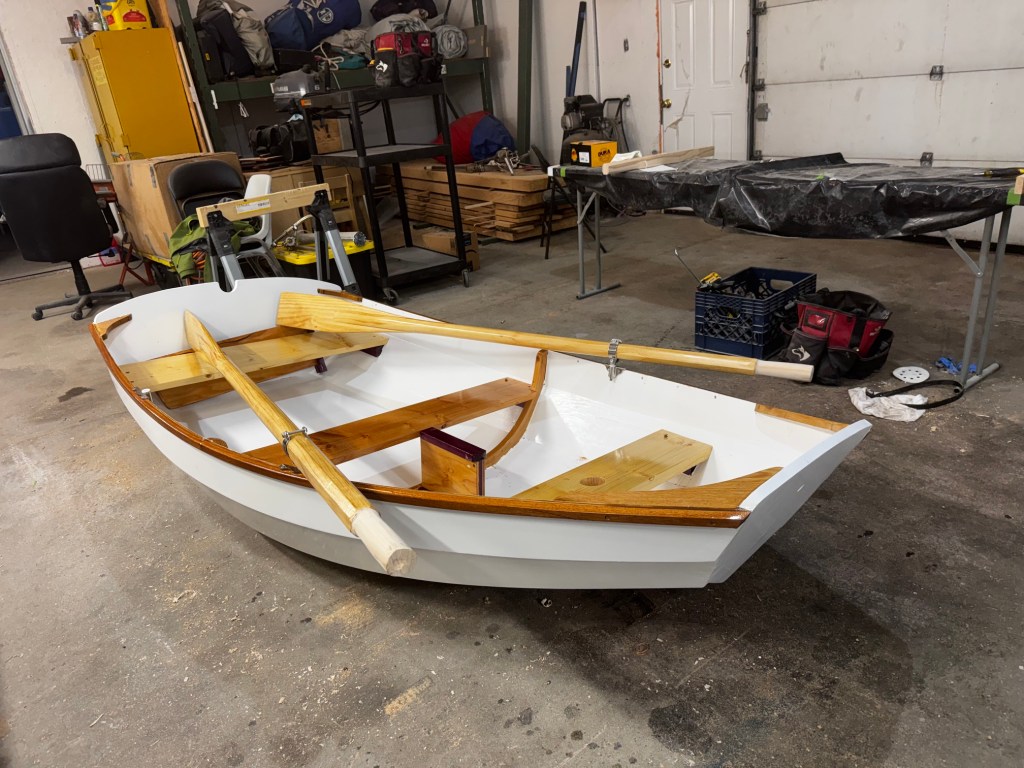
I also made up a set of 6’6″ oars out of laminated 1x white wood, but unfortunately I lost one in a storm this summer and will have to re-make a pair.
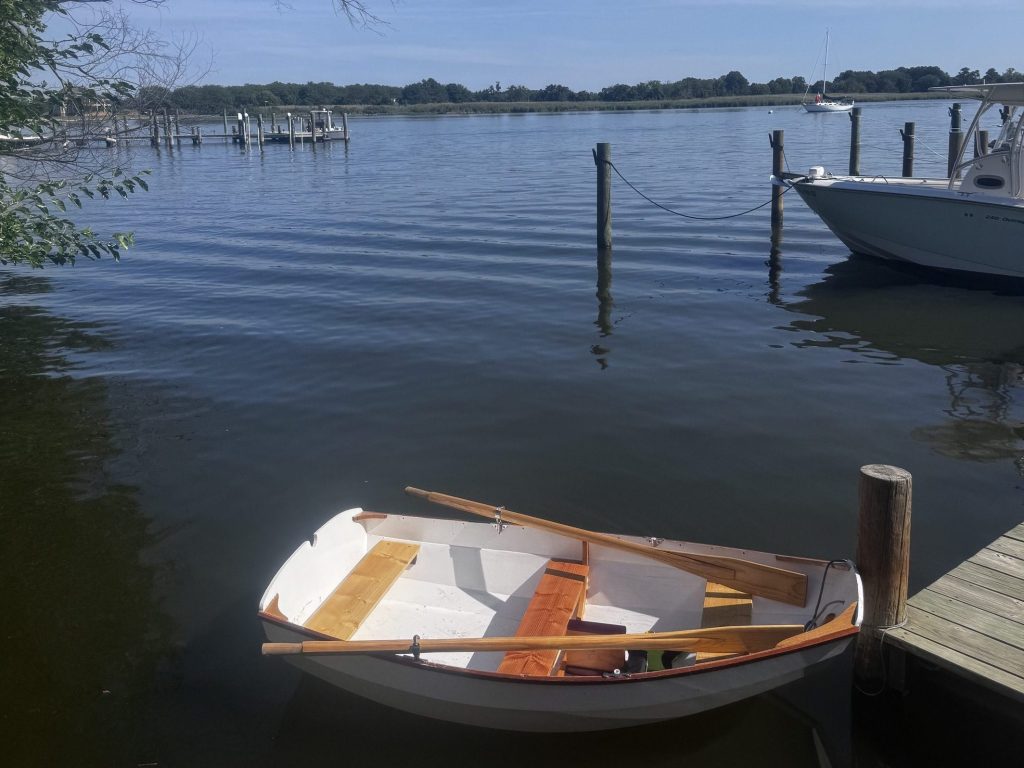
All in all, I am satisfied with the pram. It rows beautifully, even when loaded down heavy. It comfortably fits 2 adults or 1 adult/2 kids, and though we haven’t tried it yet, I think it would take the whole family in the right conditions. I will likely make the spars and sail for it one of these days, but for now it makes a nice tender for the Tartar Sauce. Since she’s the tender for the Sauce, we’ve dubbed it the Ramekin.


Leave a comment