
I’m finding that I quite enjoy the process of studying, planning, and building small wooden boats. The process of visualizing the shapes, details, and sequencing of building a boat scratches a lot of itches in my brain housing group.
Prior to purchasing the Tartar Sauce, but during the “I’m going to buy a bigger boat” phase, I had purchased an inflatable dinghy on the internet. Unfortunately, the dinghy I purchased ended up being too big to stow on the deck of the Sauce, and I don’t want to install davits on the stern. Hoisting a 100+ pound dinghy on davits off the transom would look unwieldy on such a short boat as mine, as well as having negative effects regarding windage and balance of the boat. Thus, it became more and more imperative that I source a new, smaller dinghy that can serve as a tender. Also, my son has been showing a lot of interest in getting into dinghy sailing, so having a dinghy that can serve double duty as both tender for the Sauce and a kids beach-comber would be ideal.
I began to research dinghy plans available on the internet that fit my parameters: plywood dinghy with row, sail, and motor capability; less than 8’ long, to fit on the cabin top between the mast and the dodger; maximum payload capacity (hopefully to get 2 adults and 2 kids in, but at least 2 adults and 1 kid); and lastly, it has to be a pretty little thing. I decided on Joel White’s 7’-7” Nutshell Pram.
I purchased the planset from http://www.woodenboatstore.com, and set about studying the plans and visualizing how to get this thing built. Wooden boat store also sells an instruction book, but I decided that my hubris and moxie should suffice in lieu of official instructions. Luckily, I found a source for Douglas fir marine ply in town, at pretty reasonable prices too. After compiling pretty much all the lumber and accessories I’ll need to build it, I got to work.
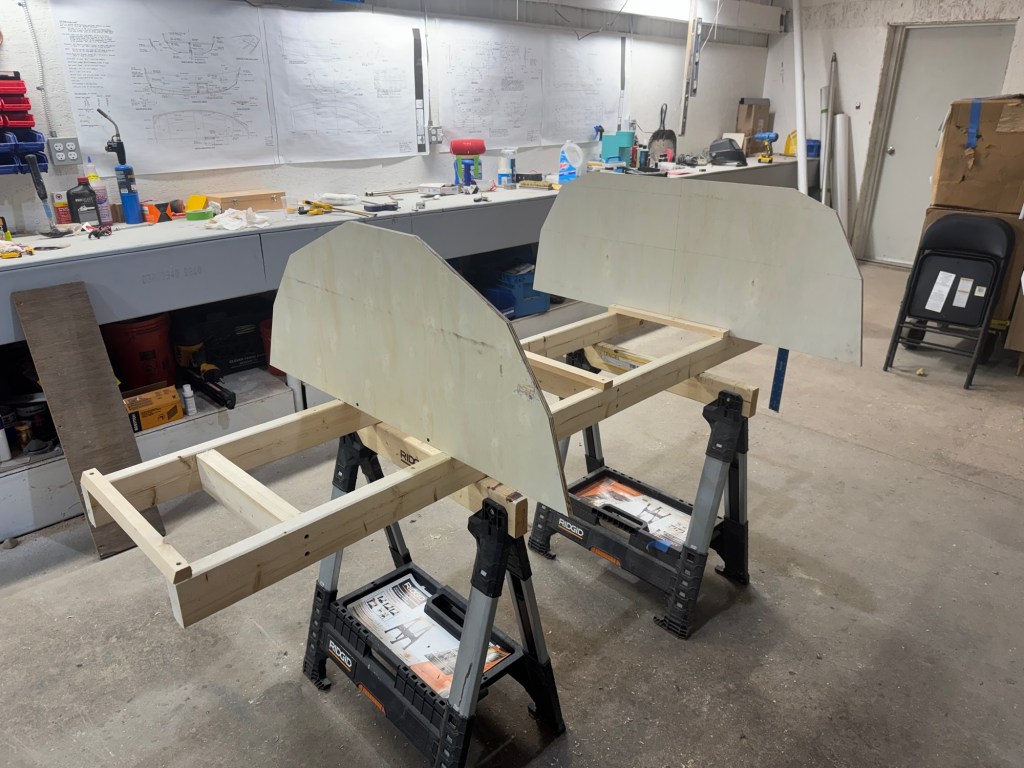
The first step to building a boat is to make a strongback ladder frame. This frame forms the foundation on which the rest of the hull is shaped. For a small craft like the nutshell, a simply 2×4 frame is sufficient, and Mr. White includes a sheet in the planset for the dimensioning and construction of the ladder frame. Once the frame was built, I laid out the station molds for stations 1 and 3 on some 1/2” plywood, cut them out with a circular saw, and then mounted them on the ladder frame.
Next, I prepared the lumber for laminating the midship frame. My local big box store fortunately has a suprisingly good selection of straight, relatively clear Douglas fir 2x4s, so I used that as base stock. I first planed the boards down to about 1 1/8” thick, then ripped them on the table saw to thin strips about 1/8” thick. Next time I do that, I’ll fit a thinner kerf blade on the table saw. I used my thick kerf combo blade and lost almost half of the base material to the cuts.
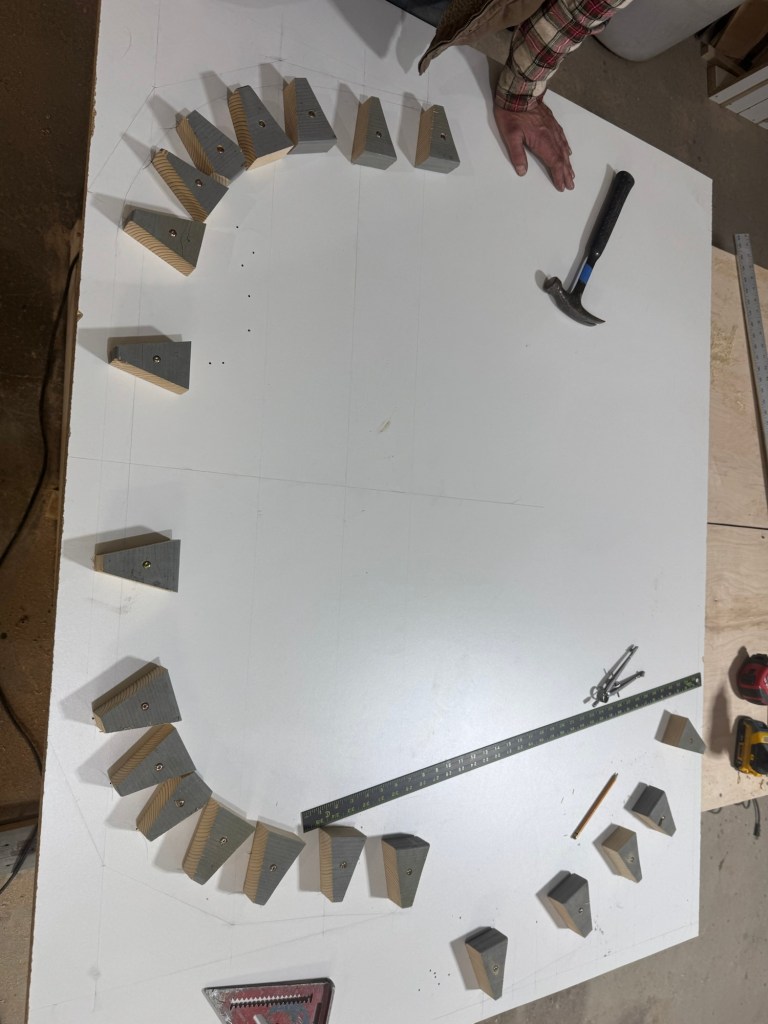
The last task for the day was to lay out the laminating jigs. I started with a base of melamine plywood and drew out the patterns for the frame and the forekeel, which is the other laminated piece on the boat. Once drawn out, I cut clamping ducks and set them at each hard point on the pattern. I test bent a strip to ensure the strips I cut were thin enough to make the radiuses and didn’t have any issues, as long as I keep the few small knots off the tight areas of radius.
Next time, I’ll laminate the frames and layout plywood cuts – transoms, planking, floor, etc.


Leave a Reply